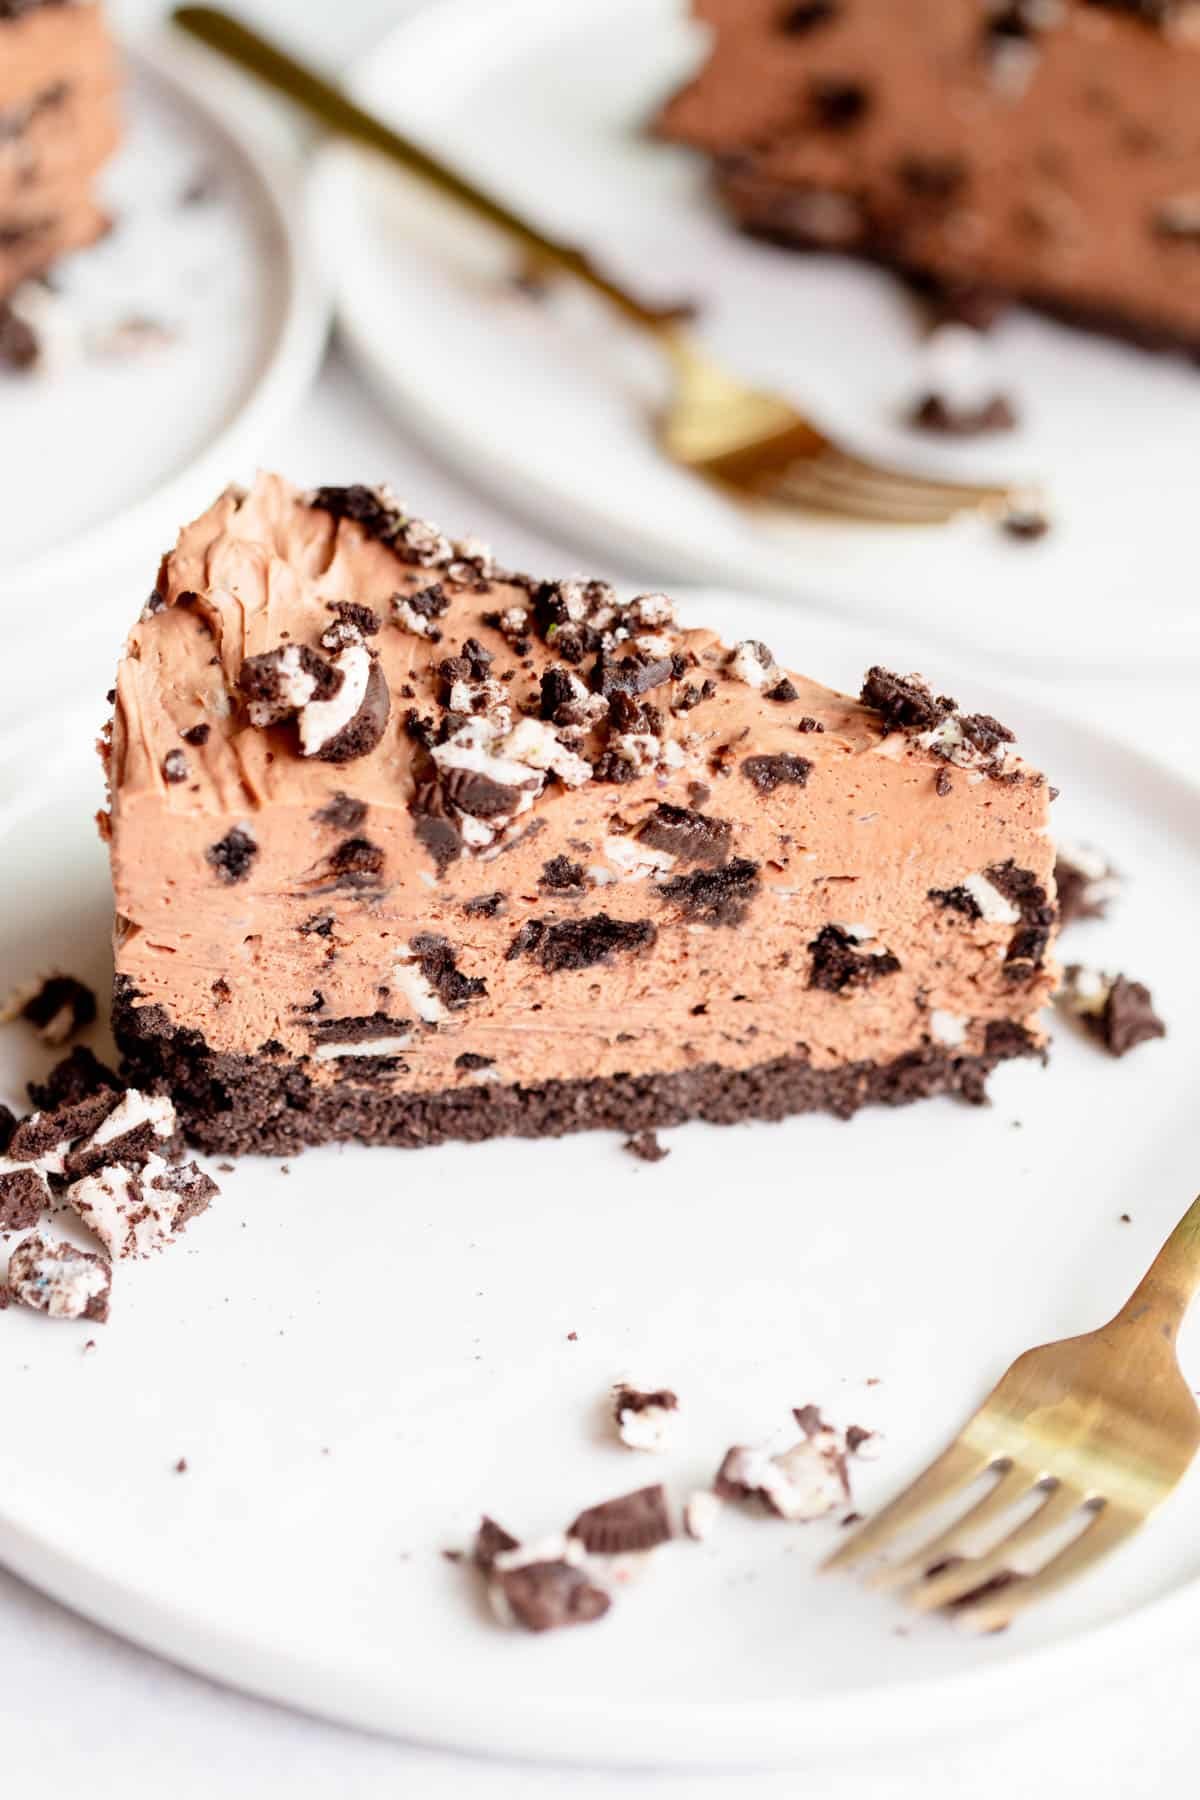
No Bake Oreo Cheesecake
An easy and decadent recipe for No Bake Oreo Cheesecake is the perfect summer chocolate-filled dessert! This cheesecake is great for celebrations, BBQs, potlucks, or just a delicious treat to share with friends and family.
Quick Look: No Bake Oreo Cheesecake

Ready In: 4 hours 30 minutes

Serves: 16

Calories: 570 Calories

Main Ingredients: Oreos, chocolate, cream cheese

Why You'll Love It: this Oreo cheesecake is so easy to make, is no bake, and is a total crowd pleaser!
SUMMARIZE & SAVE THIS CONTENT ON
Jump to:
I absolutely love a no bake cheesecake. Whether it's my No Bake Lemon Cheesecake or No Bake Bailey's Cheesecake, I love how easy and straight forward these recipes are! Plus, they are creamy, luscious, and delicious.
I've been dreaming up this No Bake Oreo Cheesecake for awhile now and it turned out even more amazing than I thought it would. Talk about chocolate overload with a chocolate Oreo crust, a chocolate cheesecake filling, and even more chocolate from the chopped Oreos in the cheesecake!
Why You'll Love This Recipe
- No Bake - I love the ease of a no-bake cheesecake, especially during the summer months.
- Full of Chocolate - who doesn't love chocolate?! This no bake chocolate cheesecake has chocolate in the crust, in the Oreo cheesecake filling, and in the Oreos that are in the filling and on top! If you're a huge fan of chocolate, be sure to check out my Cake Mix Chocolate Cookies and Brown Butter Brownies!
- Make Ahead Dessert - this dessert needs to be prepped ahead of time, which makes it great for a big gathering where you don't want to be assembling or preparing a dessert. If you love make ahead desserts, check out my No Bake Peanut Butter Pie, too!
Key Ingredients
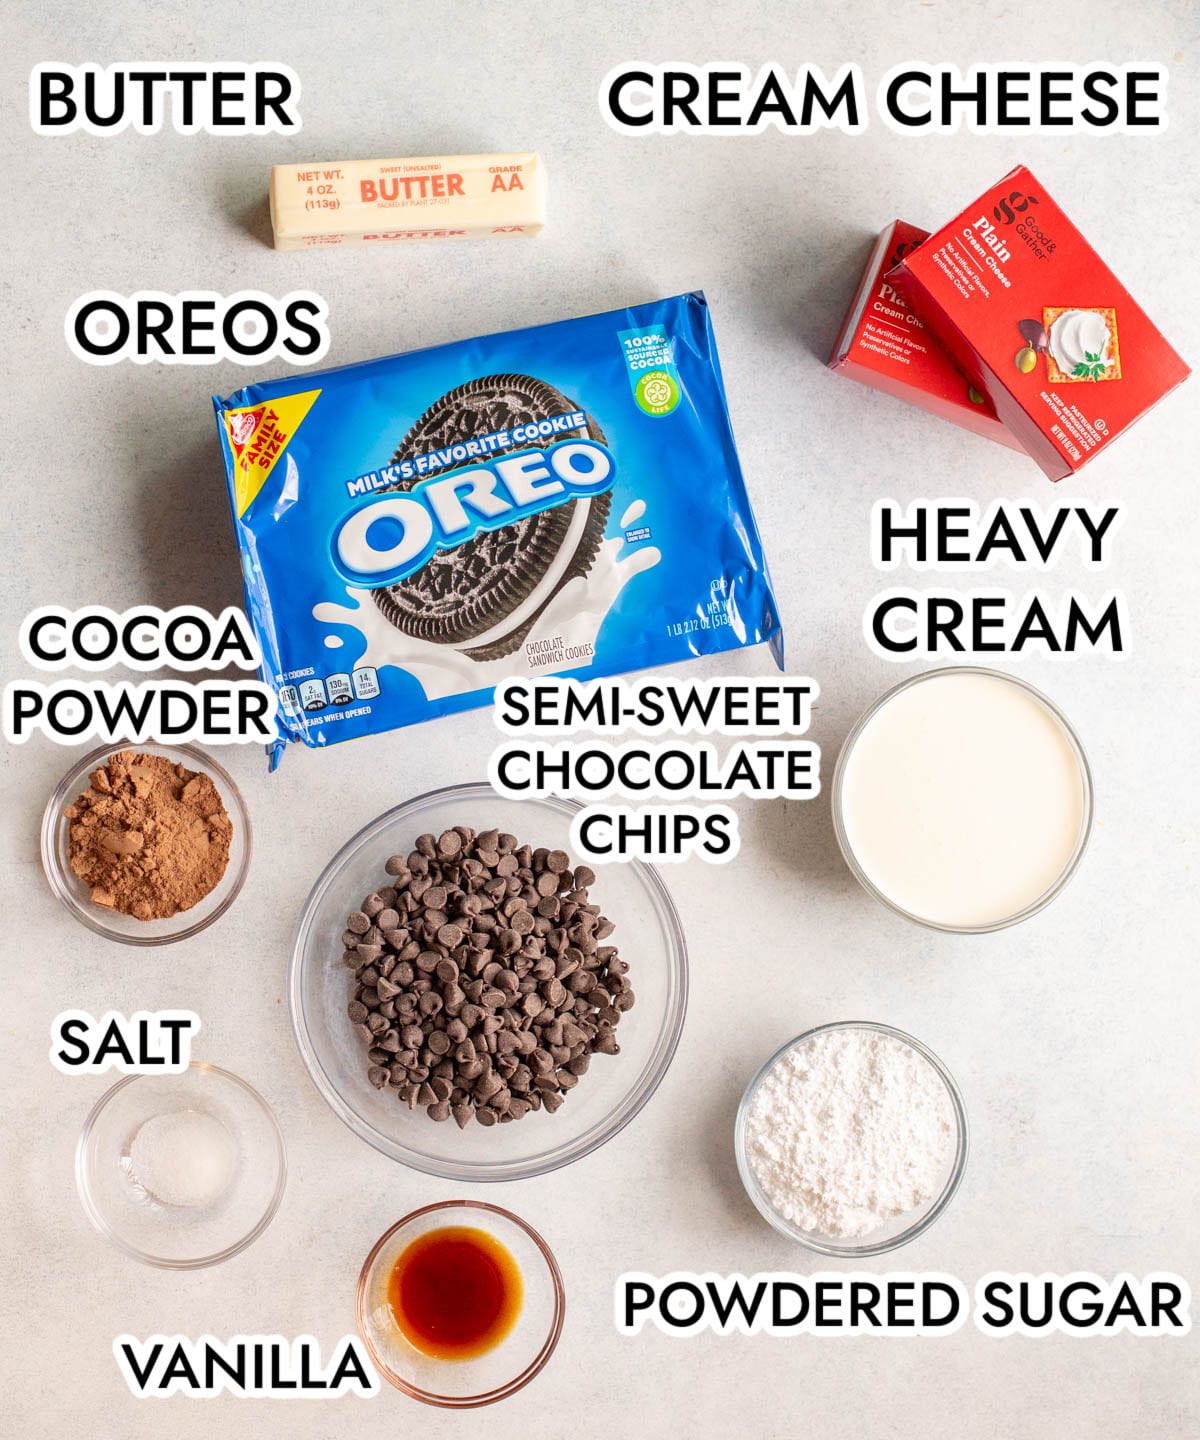
Oreos - I love the addition of crunchy Oreos to this creamy chocolate cheesecake filling. I also love Oreos in my Peanut Butter Oreo Pie or No Bake Strawberry Oreo Pie.
Butter - melted butter is used in the crust.
Cream Cheese - a whopping 24 ounces of cream cheese in the cheesecake filling makes it super creamy and decadent. It's important to use full-fat cream cheese, not reduced fat!
Powdered Sugar - sweetens up the cheesecake filling. Be sure to use powdered sugar and not granulated sugar. Powdered sugar keeps the filling smooth and not gritty.
Semi-Sweet Chocolate - melted semisweet chocolate chips are beat into the cream cheese mixture for even more chocolate flavor. I think that using a higher quality chocolate chip is important here, as the higher cocoa content will ensure the chocolate chips will melt and not seize up when melting.
Please refer to the recipe card for the complete list of ingredients.
Substitutions and Variations
Different Cookie - you can swap Oreos for really any chopped cookies that you want. You could do Thin Mints during Girl Scout cookie season, Chips Ahoy for a chocolate chip cookie version, or even a seasonal Oreo like peanut butter Oreos or birthday cake Oreos.
Graham Cracker Crust - if you prefer, you could make this using a graham cracker crust for cheesecakes.
Cool Whip - if you want to cut down on prep steps, you can use a container of Cool Whip instead of making your own homemade whipped cream. I use Cool Whip in my Mint Brownie Ice Cream Bars, Dunkaroo Dip, and No Bake S'Mores Pie and it is a great shortcut!
Different Extract - instead of vanilla extract, you could use coconut extract or peppermint extract for a fun variation.
How to Make No Bake Oreo Cheesecake
Photo 1. In a large bowl, add cream cheese, powdered sugar, and cocoa powder. Beat well until combined, about 2 minutes.
Photo 2. In a small bowl, melt the chocolate. Once melted, add to the cream cheese mixture.
Photo 3. Beat until well combined.
Photo 4. In a separate bowl, add the heavy whipping cream and beat until stiff peaks form.
Photo 5. Add the whipped cream to the chocolate cream cheese mixture and beat until combined, being careful not to overbeat.
Photo 6. Fold in chopped Oreos.
Photo 7. In a large food processor, add the Oreos and pulse until it resembles coarse crumbs. Add the melted butter and pulse until combined.
Photo 8. Press the mixture into a greased 9" springform pan.
Photo 9. Spread the cheesecake batter into the pie crust and smooth out to even.
Photo 10. Sprinkle with additional chopped Oreos. Chill in the refrigerator for at least 4 hours. Cut into pieces and enjoy!
Expert Tips
Be sure you let your cream cheese warm up to room temperature before starting this recipe. This will ensure it's softened enough to combine thoroughly with the other ingredients.
Start with very cold heavy whipping cream before you whip it. I like to put my bowl in the freezer for 15 minutes so even the bowl is cold.
Full Fat Cream Cheese - I wouldn't recommend making this with anything but full-fat cream cheese! The lower fat cream cheese won't set up as well due to a higher water content.
Springform Pan - I highly recommend using a springform pan for this no bake cheesecake, as it makes it MUCH easier to get out of the pan and cut into slices. In addition, a normal sized pie dish will be too small for the amount of crust and filling.
Storage - store leftover cheesecake covered in the refrigerator for up to 6-7 days. You can also store it in an airtight container in the freezer for up to 3 months.
Serving Suggestions - this is delicious served as written. You can also top it with various things like fluffy whipped cream, raspberry or strawberry preserves, or a drizzle of chocolate or caramel sauce.

No Bake Oreo Cheesecake Recipe FAQs
Yes! You can easily swap Cool Whip for homemade whipped cream in this recipe. I would recommend using one 8 ounce container
For the Oreos in the crust, I use a food processor so they become coarse crumbs. For the filling and topping, you can either chop up the Oreos with a knife or put them in a Ziploc bag and crush with a rolling pin.
Baked cheesecake has a filling made with cream cheese and eggs that is baked to set up. No Bake cheesecake does not have eggs and the filling sets up after some time in the refrigerator.
Other Dessert Recipes to Consider
If you make this recipe, please let me know! Leave a ⭐️⭐️⭐️⭐️⭐️ rating on this recipe below and leave a comment, or take a photo and tag me on Instagram with #greensnchocolate.

No Bake Chocolate Oreo Cheesecake
Ingredients
Crust
- 31 Oreos
- 5 tablespoon unsalted butter melted
Cheesecake
- 24 ounces cream cheese at room temperature
- 1 ½ cups powdered sugar
- 3 tablespoon unsweetened cocoa powder
- 8 ounces semisweet chocolate chopped and melted (or can use chips too)
- 2 teaspoon pure vanilla extract
- 1 ¼ cups heavy whipping cream
- 2 cups chopped Oreos plus more for topping
Instructions
- In a large food processor, add the Oreos and pulse until they resemble coarse crumbs.
- Add the melted butter and pulse until well combined.
- Press into a greased 9" springform pan and set aside.
- In a large bowl, beat the softened cream cheese, powdered sugar, and cocoa powder until well combined, about 1-2 minutes.
- Add the melted chocolate and beat until combined.
- In a separate medium to large bowl, add the heavy whipping cream.
- With an electric mixer, beat until stiff peaks form.
- Add the whipped cream to the chocolate cream cheese mixture and beat until combined.
- Fold in the chopped Oreos.
- Add the cheesecake filling to the Oreo crust and spread out.
- Top with chopped Oreos.
- Cover and refrigerate for at least 4 hours, ideally overnight to chill.
- Cut into slices and enjoy!
