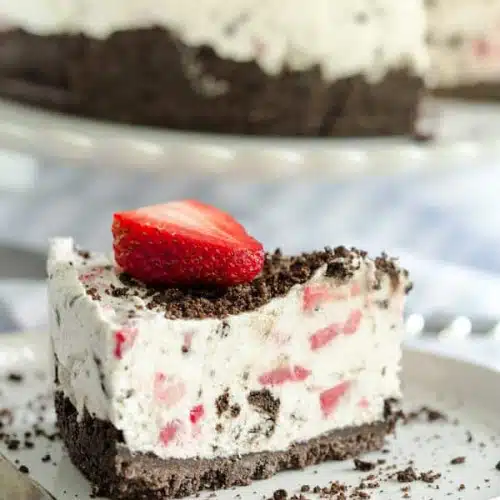
No Bake Peanut Butter Pie
No Bake Peanut Butter Pie is one of my favorite no bake desserts to make. I make it for potlucks, birthdays, and special gatherings. It is so easy and filled to the max with peanut butter flavor!
Quick Look: No Bake Peanut Butter Pie

Ready In: Time Goes Here

Serves: Amount Goes Here

Calories: Calories Goes Here

Main Ingredients: Ingredients Go Here

Why You'll Love It: Dietary Info Go Here
SUMMARIZE & SAVE THIS CONTENT ON
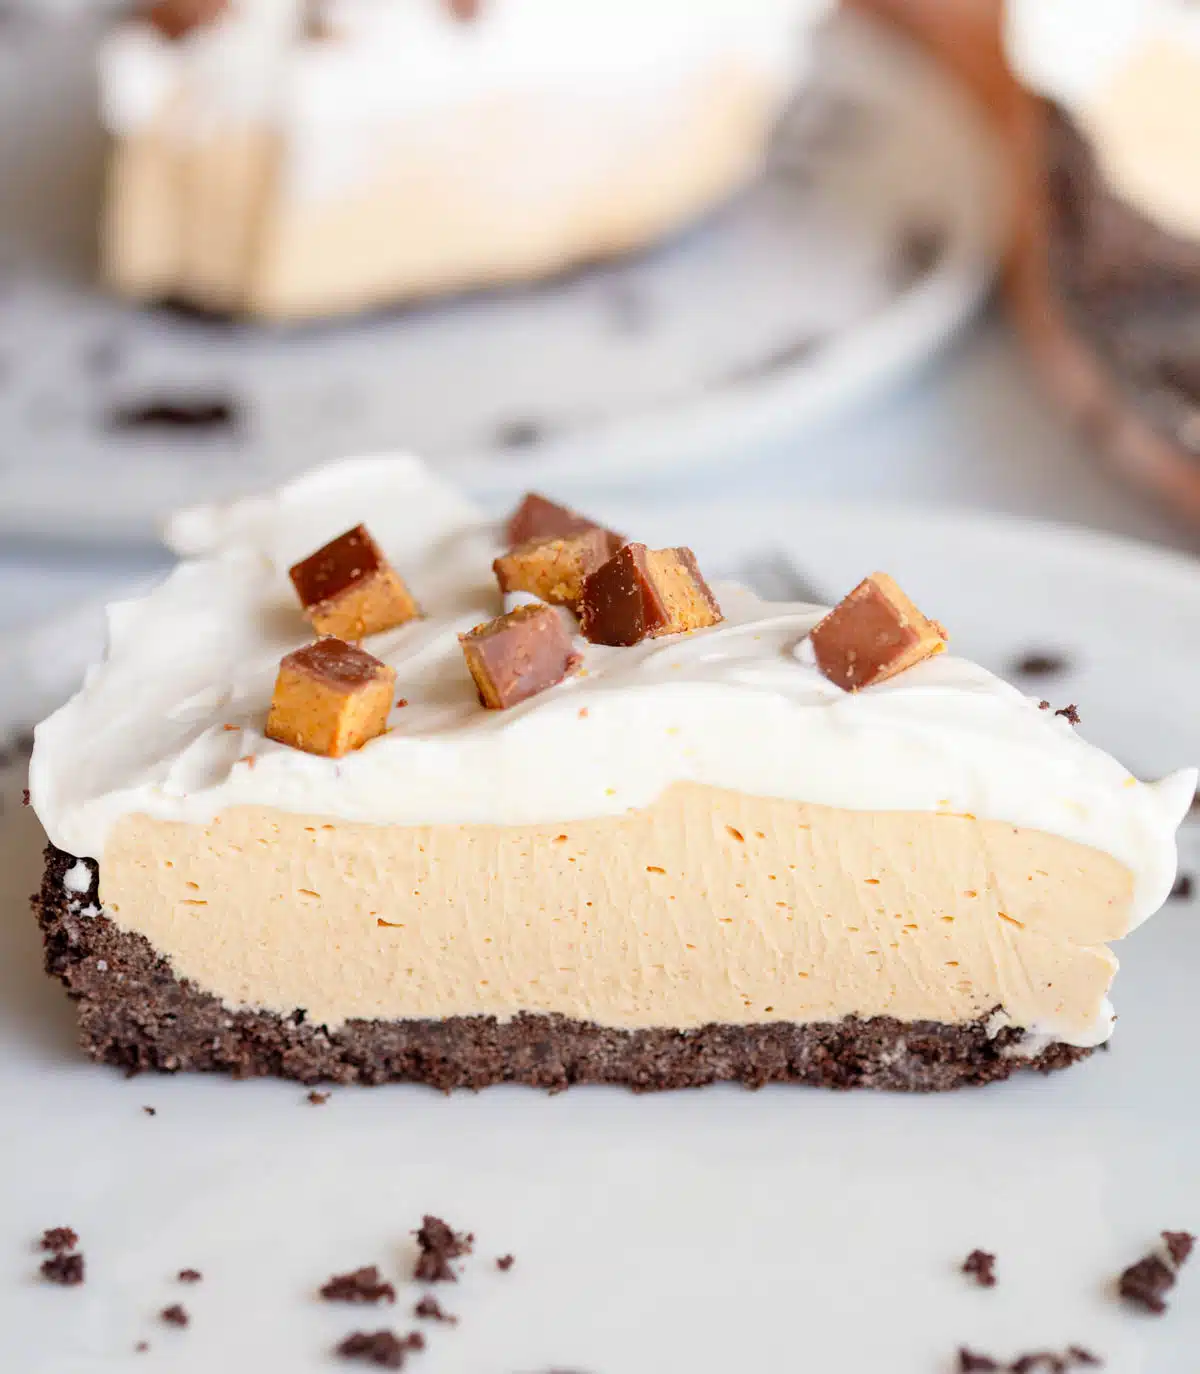
If you're looking for an easy crowd pleasing dessert recipe, you need to try this No Bake Peanut Butter Pie! This pie is perfect for peanut butter lovers, chocolate lovers, and pie lovers.
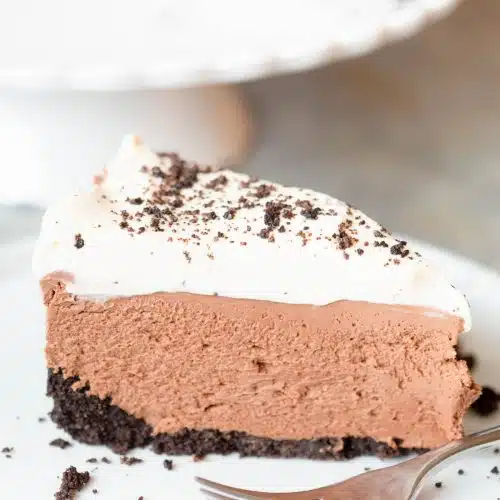
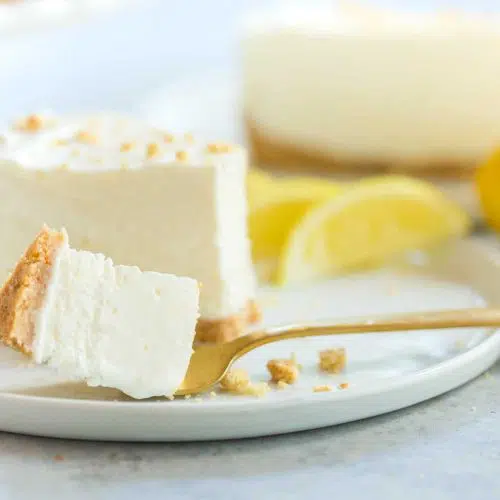
Not only is this recipe is easy to make, but it's so, SO delicious. The peanut butter filling is light and fluffy and goes perfectly with the yummy Oreo crust! If you're also a big fan of Oreo crusts, be sure to check out my No Bake Baileys Cheesecake and my No Bake Lemon Cheesecake (with Golden Oreo crust!)
Why You'll Love This Recipe
- Easy - this pie recipe is so easy to make - the crust is simple and the pie filling is just a matter of mixing the ingredients together.
- Peanut Butter and Chocolate - what's to to love about that?!
- Make Ahead - this pie is best if made in advance, which means no day-of prepping!
- Delicious Any Time of Year - unlike an Apple Crisp or No Bake Pumpkin Cheesecake Pie, this peanut butter pie doesn't really correlate with any season. That means it's perfect all year!
Key Ingredients

Oreo Cookies - crushed Oreos are used in the crust.
Cream Cheese - I have only made this recipe using full fat cream cheese, and would not recommend using low-fat or fat-free cream cheese as it will affect the texture.
Peanut Butter - of course peanut butter pie needs peanut butter! I highly recommend using non-natural creamy peanut butter as that is the only kind I have tested this recipe with.
Cool Whip - I love using Cool Whip for ease and the creaminess it lends to the pie.
Heavy Whipping Cream - this is for the whipped topping. It is important to use heavy whipping cream and not half and half.
Peanut Butter Cups - I chop these up and sprinkle them on the top for even more peanut butter and chocolate!
Please refer to the recipe card for the complete list of ingredients.
Substitutions and Variations
Cool Whip - instead of the heavy whipping cream, you could just use another container of Cool Whip. There will likely be more than you need, or you could just have a thicker layer of whipped cream topping.
Oreos - instead of Oreos you can use any chocolate sandwich cookies or chocolate graham crackers if you want.
Other Toppings - instead of topping with chopped peanut butter cups, you can also do crushed Oreos, chocolate chips, peanut butter chips, or a chocolate syrup drizzle.
How to Make No Bake Peanut Butter Pie
Photo 1. Add the Oreos to a large food processor and pulse until the Oreos resemble crumbs.
Photo 2. Add the melted butter and pulse until combined.
Photo 3. Press the crust mixture into a greased springform pan. Pop it in the freezer until ready to use.
Photo 4. In a large bowl, add the cream cheese, peanut butter, powdered sugar, and vanilla extract.
Photo 5. Beat until well combined with an electric mixer.
Photo 6. Add the thawed Cool Whip.
Photo 7. Fold in until combined.
Photo 8. Spread the peanut butter pie filling into the prepared pie crust.
Photo 9. In a large bowl, beat the heavy whipping cream and powdered sugar until stiff peaks form.
Photo 10. Spread the whipped cream on top of the pie filling and then sprinkle with chopped peanut butter cups. Cover and transfer to the refrigerator to chill for at least 4 hours.
Expert Tips
Frozen or Refrigerated - this pie is delicious both refrigerated and frozen. I prefer it refrigerated so the texture is more creamy, but you can also freeze it and then let slices sit out for 15 minutes or so to thaw. Freezing it will get you cleaner slices. Regardless of where you store it, be sure to cover it tightly with plastic wrap.
Make it Ahead of Time - no bake pies are perfect for making ahead of time, and you can prep this one up to 2 days in advance.
Use full-fat cream cheese - full-fat cream cheese creates the creamiest texture and helps the pie hold its shape when sliced.
Let the cream cheese soften completely - softened cream cheese blends smoothly with the peanut butter and prevents lumps in the filling.
Choose a conventional creamy peanut butter - brands like Jif or Skippy provide the smoothest, most consistent texture. Natural peanut butter can sometimes make the filling oily or grainy.
Don't overmix the whipped topping - fold it in gently to keep the filling light and fluffy. Overmixing can deflate the mixture and make the pie denser.
Chill thoroughly before serving - for clean slices and the best texture, refrigerate the pie for at least 4 hours, preferably overnight.

No Bake Peanut Butter Pie Recipe FAQs
Yes! That would definitely work. You could also use Golden Oreos or packaged chocolate chip cookies.
Definitely. You can use homemade whipped cream instead of Cool Whip in the filling, if you'd like. Beat the whipped cream to stiff peaks before folding it into the peanut butter mixture.
You could. I think the extra effort of a homemade crust is worth it, but if you're short on time you can definitely use a store-bought graham cracker crust.
Other No Bake Recipes to Consider
If you make this recipe, please let me know! Leave a ⭐️⭐️⭐️⭐️⭐️ rating on this recipe below and leave a comment, or take a photo and tag me on Instagram with #greensnchocolate.

No Bake Peanut Butter Pie
Ingredients
Crust
- 14 ounce package of Oreos
- 5 tablespoon butter melted
Peanut Butter Filling
- 1 cup peanut butter
- 1 cup powdered sugar
- 8 ounces cream cheese at room temperature
- 8 ounces Cool Whip Thawed
Whipped Cream Topping
- 1 ½ cups heavy whipping cream
- 2 tablespoon powdered sugar
- 5 peanut butter cups chopped, for topping
Instructions
- Add the Oreos to a large food processor and pulse until it resembles fine crumbs.
- Add the melted butter and pulse until the mixture comes together.
- Press the crust mixture into the bottom and up the sides of a 9" springform pan. You can also use a pie dish.
- In a large bowl, beat together the cream cheese, peanut butter, powdered sugar, and vanilla, until well combined, with an electric mixer.
- Mix in the Cool Whip until well combined. I use an electric mixer but just try not to overbeat.
- Spread the mixture in the pie crust.
- In a mixing bowl, beat the heavy whipping cream and powdered sugar until stiff peaks form.
- Spread the whipped topping on top of the peanut butter filling.
- Sprinkle with chopped peanut butter cups.
- Cover with plastic wrap and chill in the fridge for at least 4 hours.
- Slice and enjoy!
