No Bake Butterfinger Pie
Turn your favorite candy into a pie with No Bake Butterfinger Pie! This Butterfinger pie is a total crowd pleaser and the perfect sweet treat!
Last year, as I have the past few years, I've rummaged through my kids Halloween candy after their bedtime, to find myself a nightly treat. I try to be mindful of their favorites and limit myself on how many Reese's I take (kids have good taste!), and last year I was horrified to find that neither of them had any Butterfingers! I took my outrage to Instagram and, turned out, there were quite a few other parents who noticed the same thing. I'm not sure what to make of it, but I did go out of my way to buy a big bag of fun size Butterfingers this year, just in case.
I realized it's been awhile since I've done much baking with candy, and that definitely had to be fixed. The end result was actually a no-bake recipe, but this No Bake Butterfinger Pie is one that shouldn't be missed!
Ingredients in Butterfinger Pie
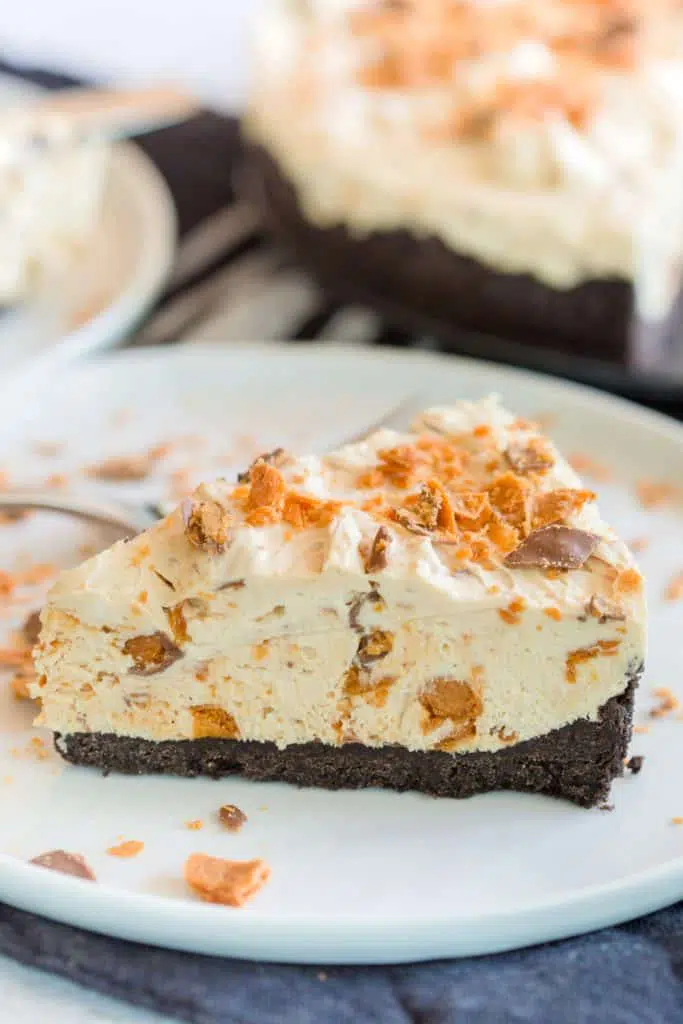
- Oreos - crushed Oreos are the crust of this butterfinger pie.
- Butter
- Cream Cheese
- Peanut Butter
- Powdered Sugar
- Cool Whip - I love Cool Whip in no bake pies, as it makes the filling super fluffy.
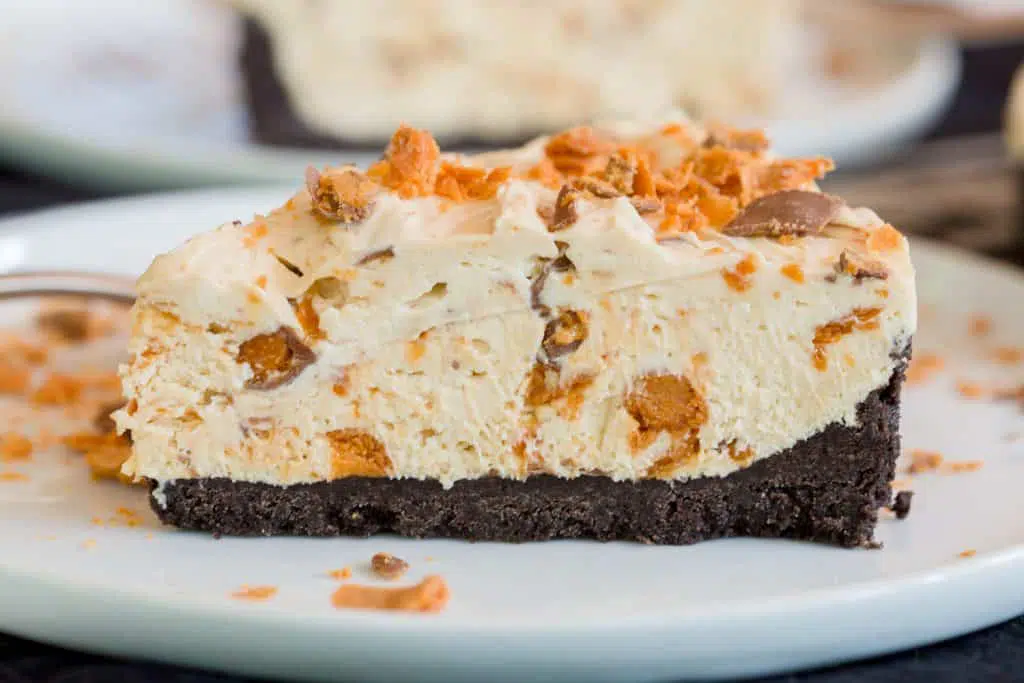
- Butterfinger Candy - of course there needs to be Butterfingers in Butterfinger pie!
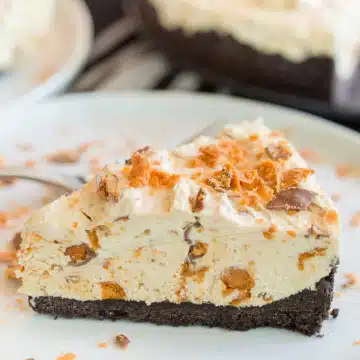
I don't think it's any surprise that this pie was an absolute hit. I really love the combination of the Oreo crust with the Butterfinger pie filling. The extra but of chocolate flavor from the crust was a delicious complement to the peanut buttery taste of the Butterfingers!
Tips for No Bake Butterfinger Pie Success
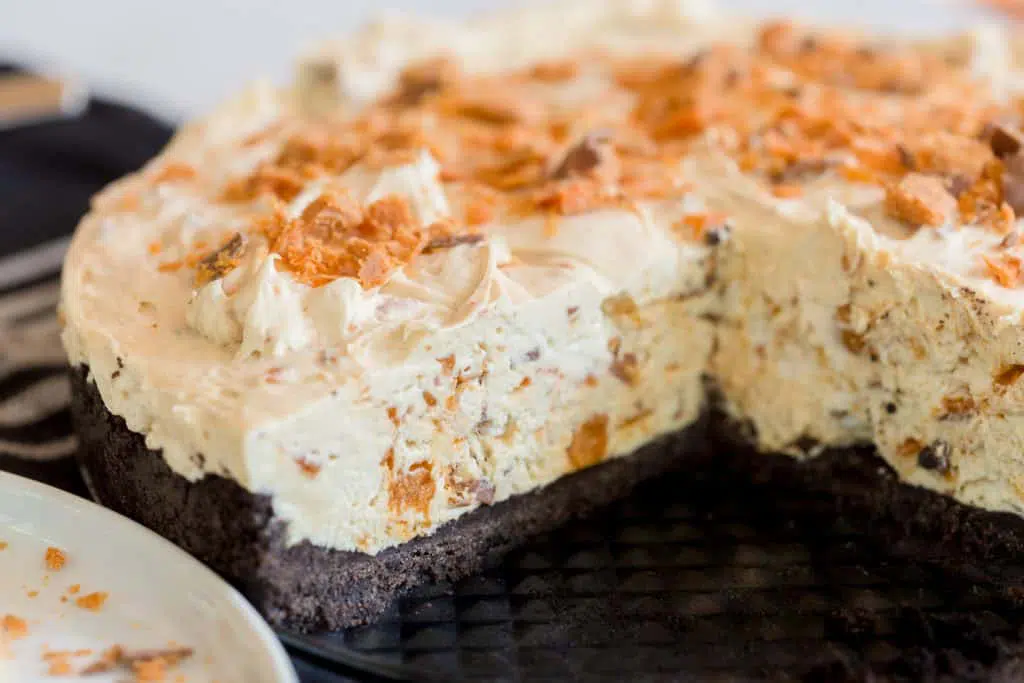
- Use a 9" springform pan, if that's available to you. I love using a springform pan when making no bake pies because I can remove the side of it to make cutting easier. If you don't have a springform pan, try using a deep pie dish to accommodate the extra filling - or just save any extra that doesn't fit in a regular pie dish to eat for fun 🙂
- Use an electric mixer or stand mixer to beat the filling and use room temperature cream cheese. This will ensure the cream cheese is super creamy and you don't end up with any lumps.
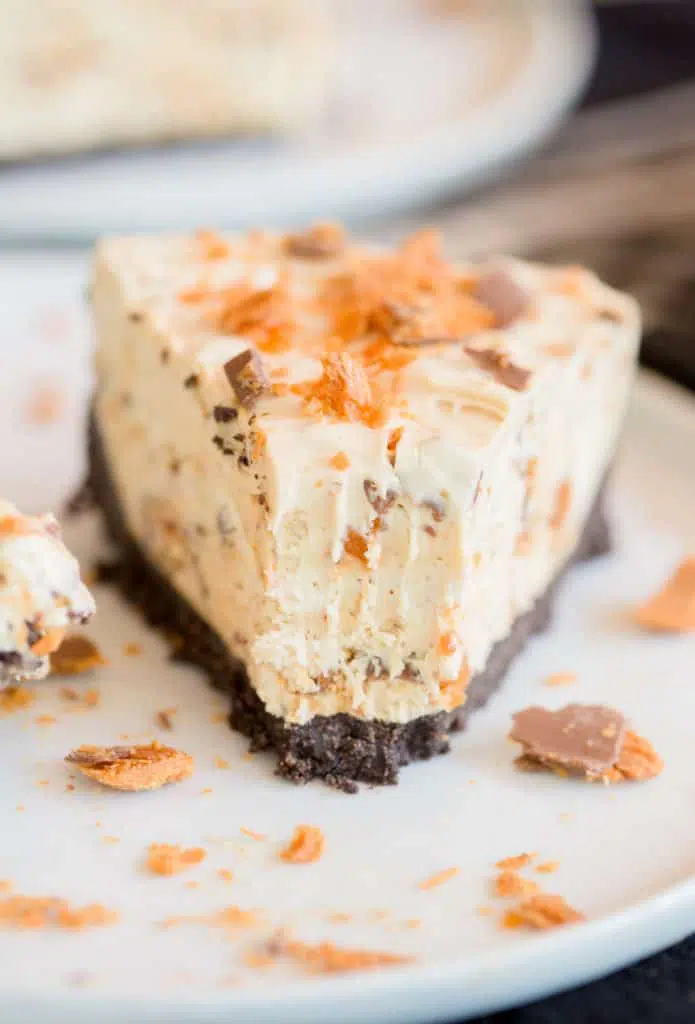
- Let the pie chill for at least 3-4 hours prior to serving. You want the pie filling to set up a bit, especially since the cream cheese was at room temperature. This will make it easier to cut the butterfinger pie into slices.
Like this recipe? Check these out, too!
No Bake Butterfinger Pie
Ingredients
Oreo Crust:
- 35 Oreos
- 5 tablespoon unsalted butter melted
Butterfinger Filling:
- 16 ounces cream cheese softened to room temperature
- 1 cup powdered sugar
- ½ cup creamy peanut butter
- 1 teaspoon pure vanilla extract
- 8 ounce Cool Whip container thawed
- 12.5 ounce bag fun-size Butterfingers chopped (reserve about ¼ cup of the chopped Butterfinger for topping)
Instructions
Crust:
- Place Oreos in food processor and pulse until they resemble crumbs.
- Add the melted butter and pulse until it is well combined.
- Press the mixture into a 9" springform pan. You can also use a pie dish, preferably a deep pie dish. Refrigerate while you are making the filling.
Filling:
- In a large bowl with an electric mixer, beat the cream cheese until it's creamy.
- Add the powdered sugar, peanut butter, and vanilla extract and beat until well combined.
- Fold in the Cool Whip and chopped Butterfingers.
- Pour into the springform pan/pie dish with the Oreo crust.
- Sprinkle with additional chopped Butterfinger.
- Cover and refrigerate for at least 3-4 hours prior to serving.
- Slice, serve, and enjoy!
