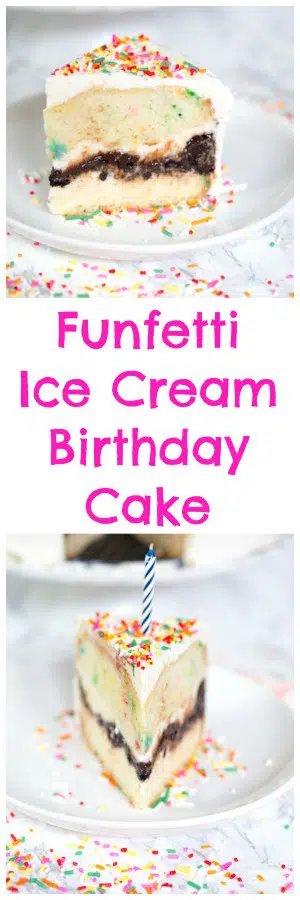
Funfetti Birthday Ice Cream Cake
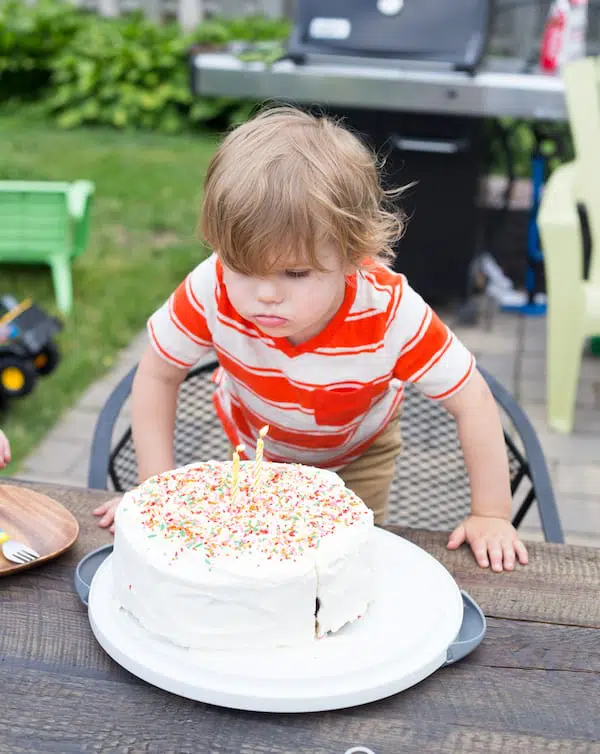
Lars' birthday was the 29th of June and while I've never really had any birthday traditions of my own (aside from cake, duh), I really wanted to start them with our kids. Last year, even though Marc was working all day, I started the tradition of getting donuts from our favorite donut shop and going strawberry picking. And of course, eating lots of cake.
We continued all of those traditions for Lars' 2nd birthday and luckily this year Marc was able to spend all day with us!
Ingredients
Cake Mix - I used a funfetti cake mix since this is a funfetti birthday cake. I love the classic taste of funfetti on a birthday! You will also need the ingredients listed on the back of your cake mix. Usually this is eggs, water, and vegetable oil.
Ice Cream - I have made this cake using vanilla ice cream and birthday cake ice cream (I find it at Target!).
Oreos - crushed up Oreos are sandwiched between two layers of ice cream for Dairy Queen cake vibes. It adds some crunch and flavor!
Hot Fudge - hot fudge is also in the middle layer of this cake, drizzled over the crushed Oreos.
Cool Whip - I have made this cake with whipped heavy whipping cream and Cool Whip. Both are delicious, but I prefer Cool Whip for ease.
Sprinkles! Is there such thing as too many sprinkles? Nope!
Step by Step Instructions
Step 1. Combine the cake mix with the ingredients listed on the cake mix box in a large bowl.
Step 2. Mix together until combined.
Step 3. Pour the mixture into a greased 9"springform pan and bake at 350 degrees for 42-48 minutes. The top should be golden brown and the cake should be baked through. You can insert a toothpick to test doneness.
Step 4. Remove the sides of the springform pan and let cool completely.
Step 5. Using a large bread knife, cut the cake in half horizontally to create two layers.
Step 6. Place the sides of the springform pan back around the bottom layer of the cake, which should still be on the bottom part of the pan.
Step 7. Add half of the softened ice cream on top of the bottom layer.
Step 8. Top with Oreo crumbs.
Step 9. Drizzle warmed hot fudge over the Oreo crumbs and spread out as evenly as possible with a spatula. It helps to have the hot fudge very warm because it thins it out and makes it easier to spread.
Step 10. Top the hot fudge with the remaining half of the softened ice cream.
Step 11. Place the top half of the funfetti cake on top of the final ice cream layer. Cover with plastic wrap and freeze for at least 2 hours. I like to do this step the day before so it can freeze overnight.
Step 12. Remove the sides and bottom of the springform pan and transfer cake to your serving cake stand or whatever you plan to serve it on.
Step 13. Frost the cake with Cool whip or whipped cream.
Step 14. Decorate with sprinkles. Freeze another 2 hours. Slice and enjoy!
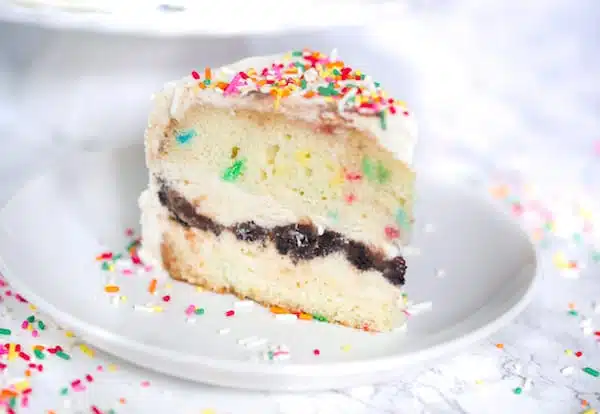
And for the final tradition, cake, I created this funfetti ice cream birthday cake that I dreamt up in my head a couple of months ago. It's the kind of cake I grew up eating around birthdays, which we would always get from Baskin Robbins. It's not the kind of Dairy Queen ice cream cake that a lot people are familiar with, which is all ice cream. It's half cake and half ice cream, and completely delicious.
I actually made it for the first time a couple of weeks before Lars' birthday for another friend's birthday. For my first attempt I used Golden Oreos as the "crunch" layer that is with the ice cream. The second time, after talking about the cake with my sister-in-law, I tried to recreate the Dairy Queen crunch layer with hot fudge and regular Oreos. While delicious, it still wasn't perfected as I didn't use my springform pan as I had the first time, and it ended up being a delicious mess.
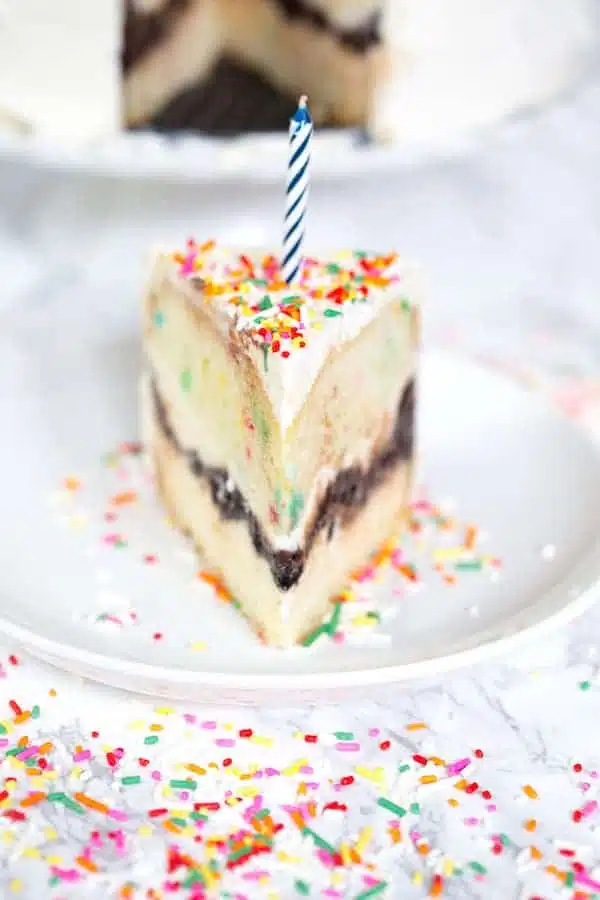
The third and final time, Lars' birthday, it ended up as pure perfection. The cake is just a basic funfetti cake mix. You could find a homemade funfetti recipe if you want, but I was all about easy this time.
I made the cake in my springform pan, which creates a super thick cake, but I wanted it to fit perfectly in my springform pan. If you have two 9" pans and a 9" springform pan that you know are going to match up, you could definitely just bake the cake in the two pans. Just follow the baking time instructions on the box. I just increased the baking time quite a bit so it was cooked through, then carefully cut the cake in half horizontally. To assemble it all, I really felt like using the springform pan was the key to my success. Otherwise the layers kind of melted out the sides and it was definitely not as visually appealing. Equally delicious? Yes. But not as pretty.
Overall, we all loved this cake every time we made it. Marc liked the version with the Golden Oreos in the middle and I preferred the regular Oreo filling. You can definitely adapt it to whatever you please. You can also switch up the cake flavor and ice cream flavor too. Whatever you use, it's the perfect celebration cake for cake lovers and ice cream lovers alike!

Funfetti Birthday Ice Cream Cake
Ingredients
- 1 box Funfetti cake mix
- 1.5 quart carton of ice cream you can use whatever flavor you like - we used vanilla bean
- 15 Oreos
- 16 ounce jar hot fudge sauce
- 1 pint heavy whipping cream
- ¼ cup white granulated sugar
- 1 teaspoon pure vanilla extract
- sprinkles!
Instructions
- Preheat oven to 350 degrees F.
- Prepare cake mix according to package directions.
- Pour into a well greased 9" springform pan that is sitting on a baking sheet.
- Bake in preheated oven for 42-48 minutes. After 40 minutes, check every couple of minutes. The top will look golden, and you want to make sure the the middle is fully baked. If a toothpick comes out gooey, keep baking.
- Let cool completely, about 2 hours.
- 30 minutes before you're ready to assemble, set the ice cream out on the counter to thaw.
- Place Oreos in food processor and pulse until large crumbs form. You don't want it to be completely crushed like you would with a cookie crust for a pie. They should be large crumbs. You can also do this by placing the Oreos in a large gallon Ziplock bag and roll a rolling pin over it. Set aside.
- Once ice cream is thawed and cake has cooled completely, remove sides from springform pan and cut cake in half horizontally.
- Leave the bottom layer on the springform pan bottom and return the sides around the cake pan.
- Spread half of the carton of ice cream over the bottom cake layer.
- Top with Oreo crumbs.
- Heat jar of hot fudge in microwave by heating on medium heat for 1 minute, or until warm enough to drizzle.
- Drizzle hot fudge over Oreo crumbs, evenly distributing. You can use a spatula to spread it all out if needed.
- Spread remaining ice cream over the hot fudge, then top with second half of cake.
- Cover with plastic wrap and freeze at least 2 hours.
- After 2 hours, add whipping cream, sugar, and vanilla to a large bowl and beat with electric mixer and beat until medium to stiff peaks form.
- Take sides off springform pan and ice the cake.
- Place in freezer and freeze another hour or two until ready to serve.
- Slice, serve, and enjoy!
LOVE THIS RECIPE?
Notes
Nutrition